Flutter Date and Time Formatting: Tips and Techniques
Welcome to the next part of our Flutter series! In our previous article, Flutter Localization for Mobile Apps: Strings, Numbers, and More, we explored how to adapt app content to different languages and regional formats. Now, we’ll dive deeper into managing date and time, another essential aspect of globalized apps.
Dates and times often require precise handling — whether for displaying localized formats, setting up timed functions, or even converting between formats for different use cases. Flutter, together with the intl package, makes it easy to achieve these tasks. In this article, we’ll walk through obtaining, formatting, and parsing date and time values, as well as implementing timers and delays to enhance app functionality. Mastering these techniques will bring your apps one step closer to a seamless user experience worldwide.Getting and Formatting the Current Date and Time with the intl Package
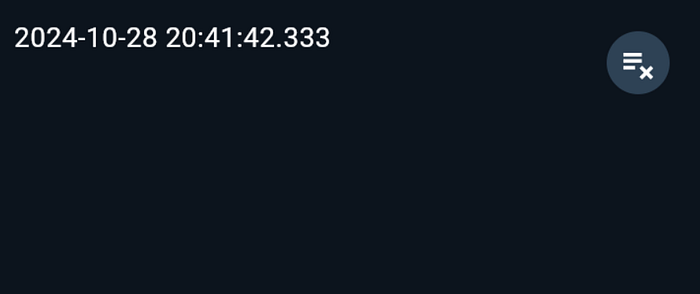
To start, we need to obtain the current date and time. This can be done with DateTime.now(), which returns the current date and time according to the device's local settings.
Example
void main() {
  final now = DateTime.now();
  print(now);
}
However, the raw output may not be suitable for display. With the intl package, we can format this date and time into a more user-friendly format.
Formatting with intl
The intl package offers DateFormat to format dates and times. You can specify the format either by using a constructor or by passing a custom format string.
intlimport 'package:intl/intl.dart';
void main() {
final now = DateTime.now();
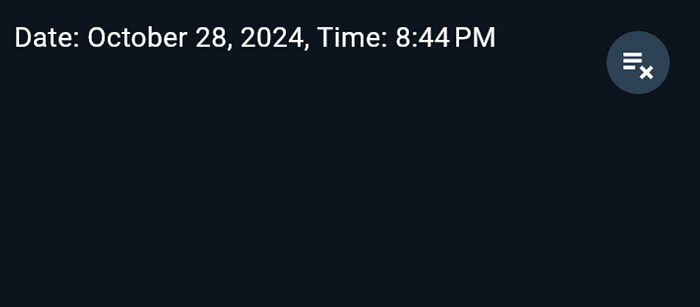
final formattedDate = DateFormat.yMMMMd().format(now);
final formattedTime = DateFormat('jm').format(now);
print('Date: $formattedDate, Time: $formattedTime');
}Common Date Format Patterns:
- yMd: Short date, numeric (
DateFormat.yMd()orDateFormat('yMd'), e.g.,10/28/2024) - yMMMMd: Full date with month (
DateFormat.yMMMMd()orDateFormat('yMMMMd'), e.g.,October 28, 2024) - yMMMEd: Date with day of the week (
DateFormat.yMMMEd()orDateFormat('yMMMEd'), e.g.,Mon, Oct 28, 2024) - jm: Time with AM/PM (
DateFormat.jm()orDateFormat('jm'), e.g.,10:23 AM) - yQQQ: Year and quarter (
DateFormat.yQQQ()orDateFormat('yQQQ'), e.g.,Q4 2024)
Using constructors like DateFormat.yMMMMd() simplifies code for common formats, but custom format strings can be useful for more specific display needs.
Converting Dates and Times to Various Formats Supported by Flutter
You may need to convert date and time data into different formats for storage, comparison, or specific display requirements. Here are some common scenarios:
ISO 8601 Format
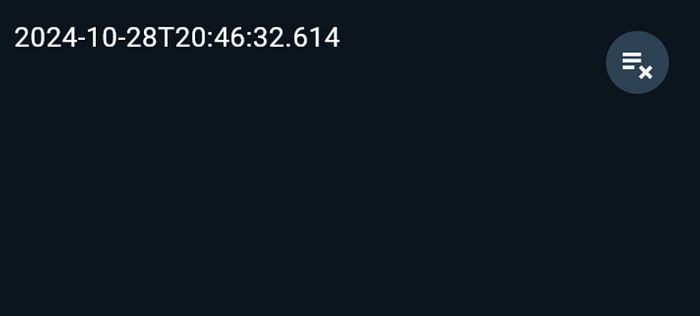
For APIs or databases, it’s often required to use ISO 8601 format (yyyy-MM-ddTHH:mm:ssZ). Flutter’s DateTime class provides .toIso8601String() for this purpose.
void main() {
  final now = DateTime.now();
  final isoString = now.toIso8601String();

  print(isoString);
}
Parsing Custom Date Formats
To parse a custom date string, DateFormat in intl also supports parsing:
import 'package:intl/intl.dart';

void main() {
  final customDateString = "28-10-2024";
  final customFormat = DateFormat('dd-MM-yyyy');
  final parsedDate = customFormat.parse(customDateString);

  print(parsedDate);
}
This flexibility allows you to work with custom date formats as needed.

Using Timers and Delays for Time-Based Tasks
Timers and delays are essential in applications for scheduling tasks, such as showing a countdown, updating the UI periodically, or executing functions after a delay.
Using Timer for Repeating Tasks
In Flutter, the Timer class allows you to execute code at regular intervals. For instance, you can create a repeating timer to update the current time every second.
import 'package:intl/intl.dart';
import 'dart:async';

void main() {
  Timer.periodic(Duration(seconds: 1), (Timer timer) {
    final now = DateTime.now();
    final formattedTime = DateFormat('jms').format(now);

    print('Current Time: $formattedTime');
  });
}
This example will print the current time every second. Be cautious with timers to avoid memory leaks; make sure to cancel the timer when it’s no longer needed.

Timer for Repeating TasksDelaying Execution with Future.delayed
Sometimes, you need to delay a task. The Future.delayed function provides a simple way to run code after a specified delay.
import 'dart:async';

void main() {
  Future.delayed(Duration(seconds: 5), () {
    print('This runs after a 5-second delay.');
  });
}
This can be useful for showing splash screens, loading data, or creating animations that start after a delay.
Complete Code Example: Combining Date Formatting, Parsing, and Timers
Here’s a complete example that brings together date formatting, custom parsing, and timers to showcase how they can be used in a Flutter app.
import 'dart:async';
import 'package:flutter/material.dart';
import 'package:intl/intl.dart';

void main() {
  runApp(MyApp());
}

class MyApp extends StatelessWidget {
  @override
  Widget build(BuildContext context) {
    return MaterialApp(
      home: DateTimeExample(),
    );
  }
}

class DateTimeExample extends StatefulWidget {
  @override
  _DateTimeExampleState createState() => _DateTimeExampleState();
}

class _DateTimeExampleState extends State<DateTimeExample> {
  Timer? _timer;
  String _currentTime = DateFormat('jm').format(DateTime.now());

  @override
  void initState() {
    super.initState();
    _startTimer();
  }

  void _startTimer() {
    _timer = Timer.periodic(Duration(seconds: 1), (timer) {
      setState(() {
        _currentTime = DateFormat('jm').format(DateTime.now());
      });
    });
  }

  @override
  void dispose() {
    _timer?.cancel();
    super.dispose();
  }

  @override
  Widget build(BuildContext context) {
    return Scaffold(
      appBar: AppBar(title: Text("Date and Time Formatting")),
      body: Center(child:
        Padding(
          padding: const EdgeInsets.all(16.0),
          child: Column(
            mainAxisAlignment: MainAxisAlignment.center,
            children: [
              Text("Formatted Date: ${DateFormat.yMMMMd().format(DateTime.now())}"),
              Text("Formatted Time: $_currentTime"),
              SizedBox(height: 20),
              Text("Parsed Date: ${DateFormat('dd-MM-yyyy').parse('28-10-2024')}"),
              SizedBox(height: 20),
              ElevatedButton(
                onPressed: () {
                  Future.delayed(Duration(seconds: 3), () {
                    print("Executed after a 3-second delay.");
                  });
                },
                child: Text("Run Delayed Task"),
              ),
            ],
          ),
        ),
      ),
    );
  }
}
This example demonstrates:
- Displaying the current date and time with formatting.
- Parsing a custom date string.
- Updating the displayed time every second.
- Running a delayed task when a button is pressed.

Conclusion
Great job making it to the end! In this article, we covered essential tools and techniques for handling date and time in Flutter. We explored how to format and parse dates with the intl package, set up timers for periodic updates, and use delays to control the timing of tasks in your app. These skills empower you to create dynamic, time-sensitive features that engage users.
Don’t hesitate to try these techniques in your projects, and share your progress with the community! Your creativity and persistence are what will make your apps stand out. Keep coding, stay curious, and enjoy building with Flutter!